Naples, FL · Mon–Fri 8am–5pm · Sat 10am–2pm

Tile & Stone · Naples since 1998
Install tile that holds up
on a Naples slab.
Compare porcelain, ceramic and stone for floors, baths and backsplashes. Discuss the room, the material and the installation scope with one project manager.
Naples showroom · One project manager · Locally owned
- 01Schedule Appointment
- 02Select your tile
- 03Measure, plan & set it
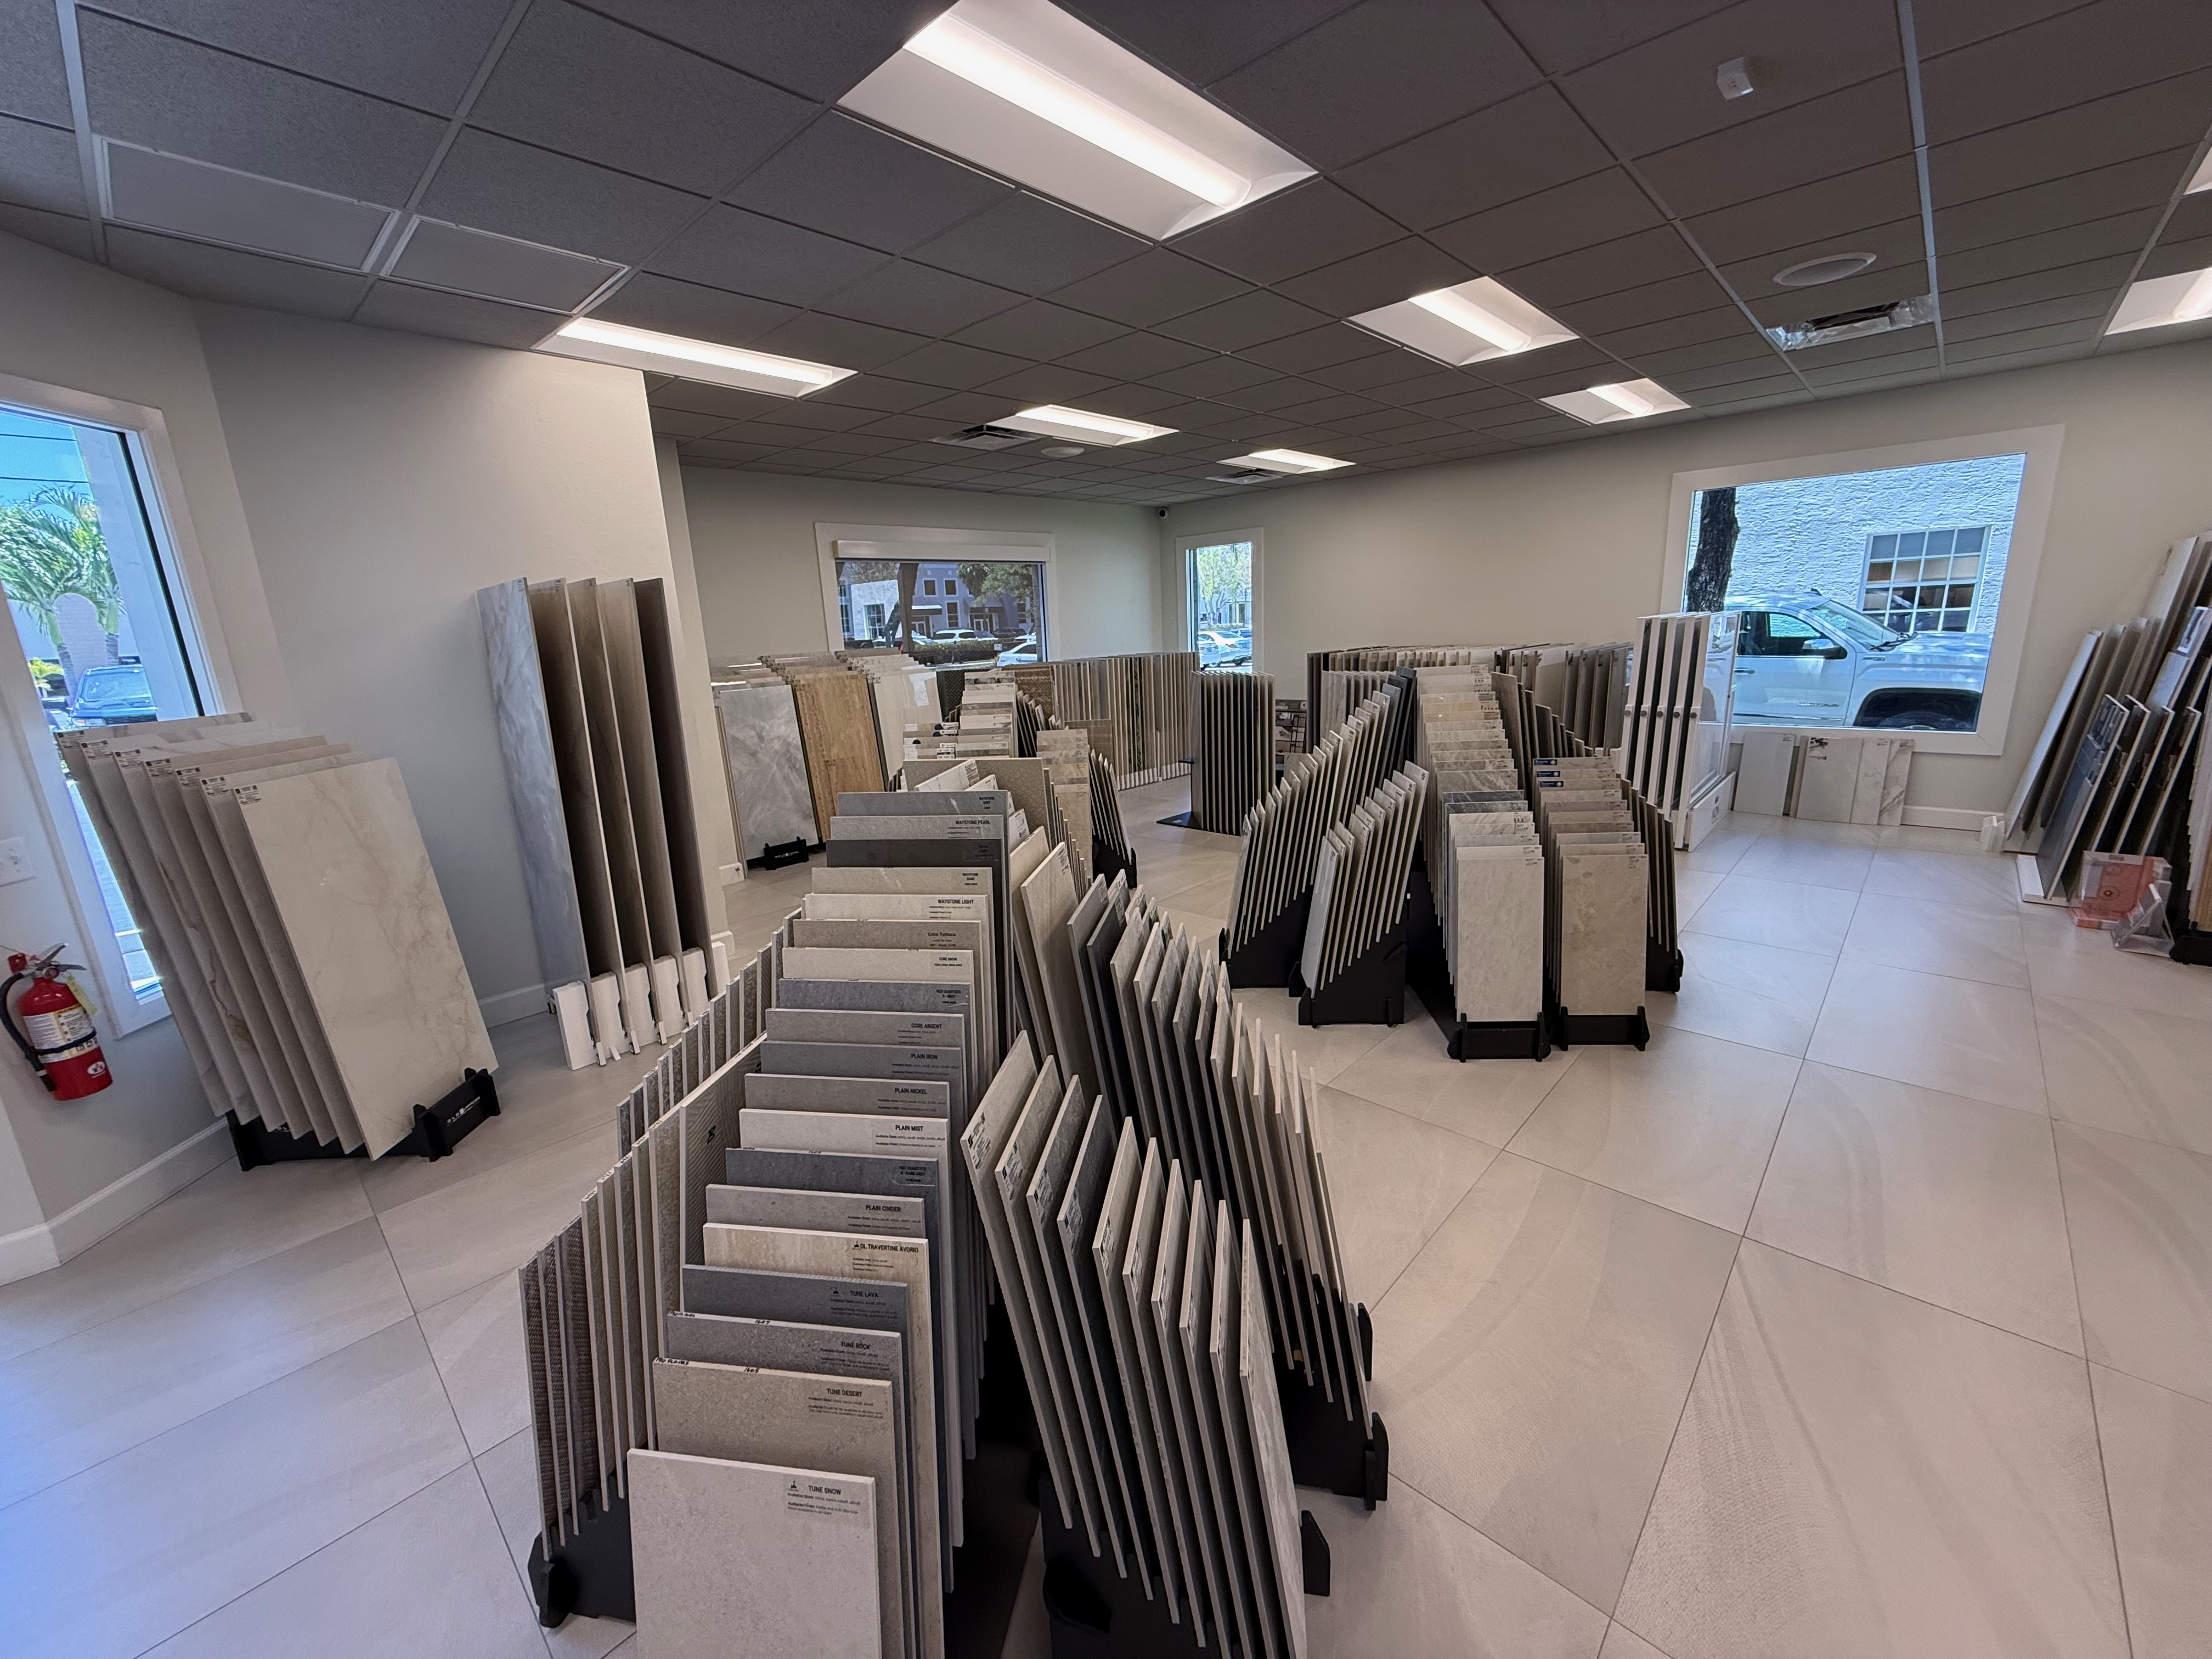
Naples tile, seen at full size — never from a chip.
Our porcelain comes in sheets up to 63 × 126 inches — taller than you are. We stand them upright on the racks so you can walk the whole face: where the veining runs, where the grey pools, how it reads in your light. A four-inch chip cannot tell you any of that.
 24 × 24 grid24 × 48 gridDrag to compareRepresentative rendering
Left24 × 24 — a classic square field.
Even, calm, symmetric — more joints, so the grid itself becomes part of the design. The traditional read for a shower wall.
Right24 × 48 — the large-format read.
Half the grout lines, longer runs of unbroken veining — the wall reads closer to stone. Where showers in Naples are heading.
Large-format porcelain, fewer joints.
The same face reads completely differently depending on the format, and neither answer is the right one everywhere. We'll help you pick by the room — which usually means small format where the floor gets wet, large format where you want it calm.
Both frames below are the same porcelain face, photographed once. The grout joints are drawn over it to scale in CSS so you are comparing the two layouts and nothing else.

Four kinds of Naples tile, one choice.
Panels, wood-look, handmade zellige, real stone — we stock the families a Naples home actually asks for, and we'll tell you which one belongs in which room.
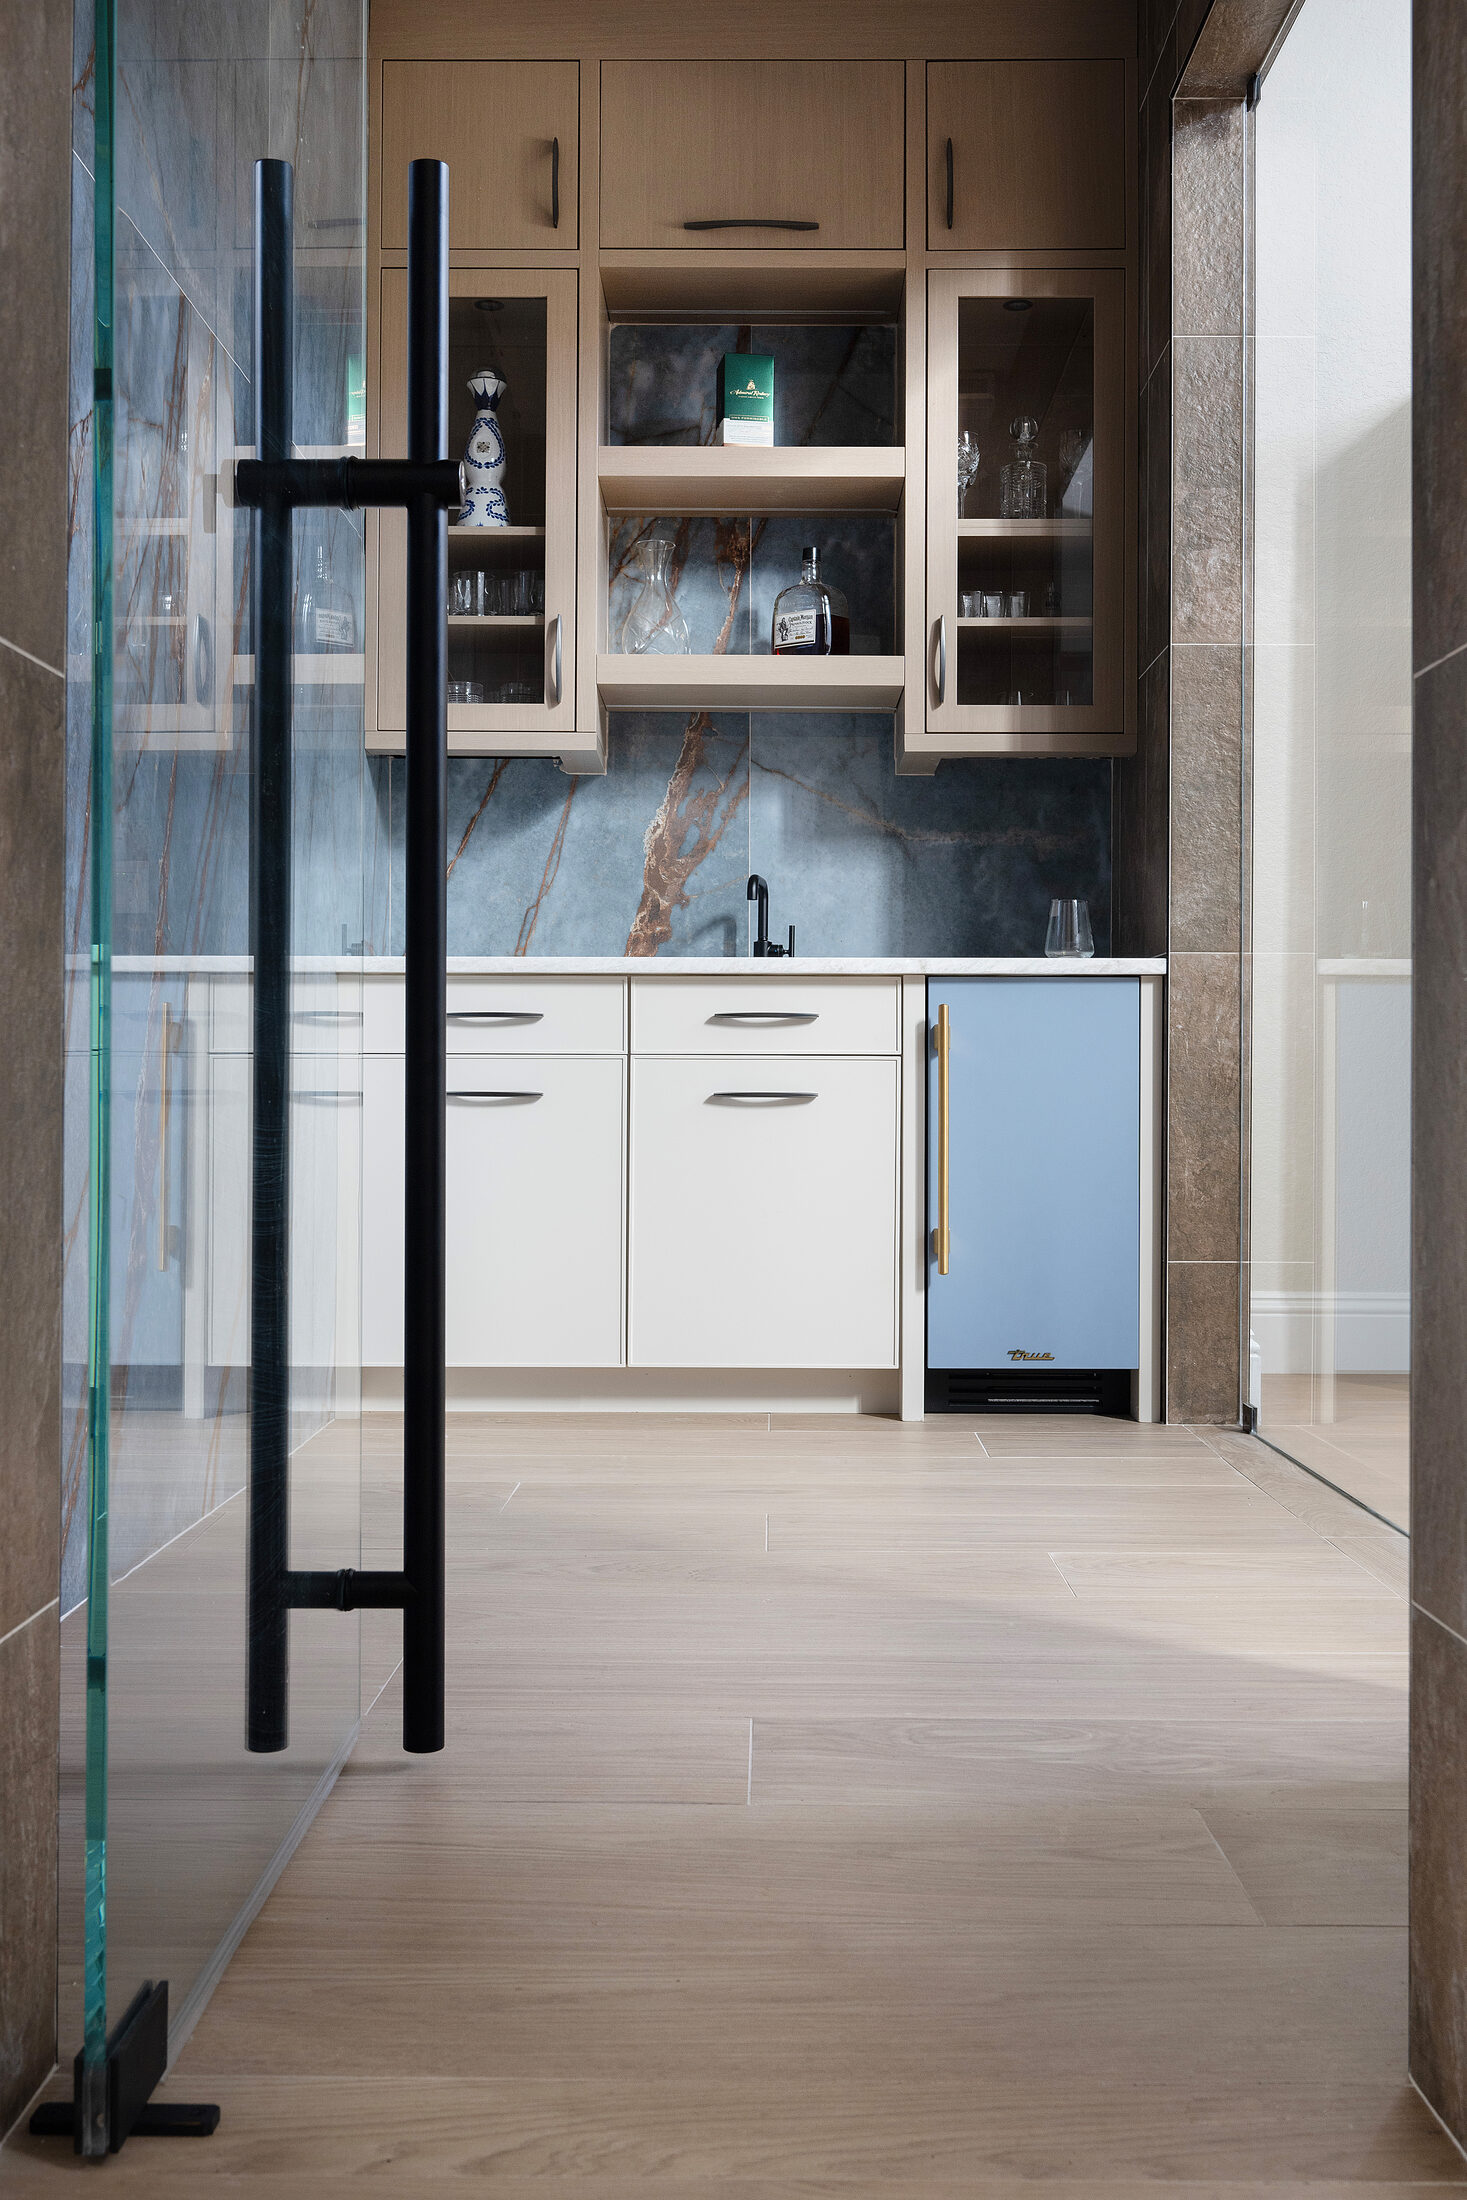
Large-format porcelain panels
Sheets up to 63 × 126 inches, so a shower or feature wall can run with almost no joint at all. It reads as one continuous piece of stone, never needs sealing, and shrugs off wine and lemon.
Shower & feature wallsmarble-look porcelain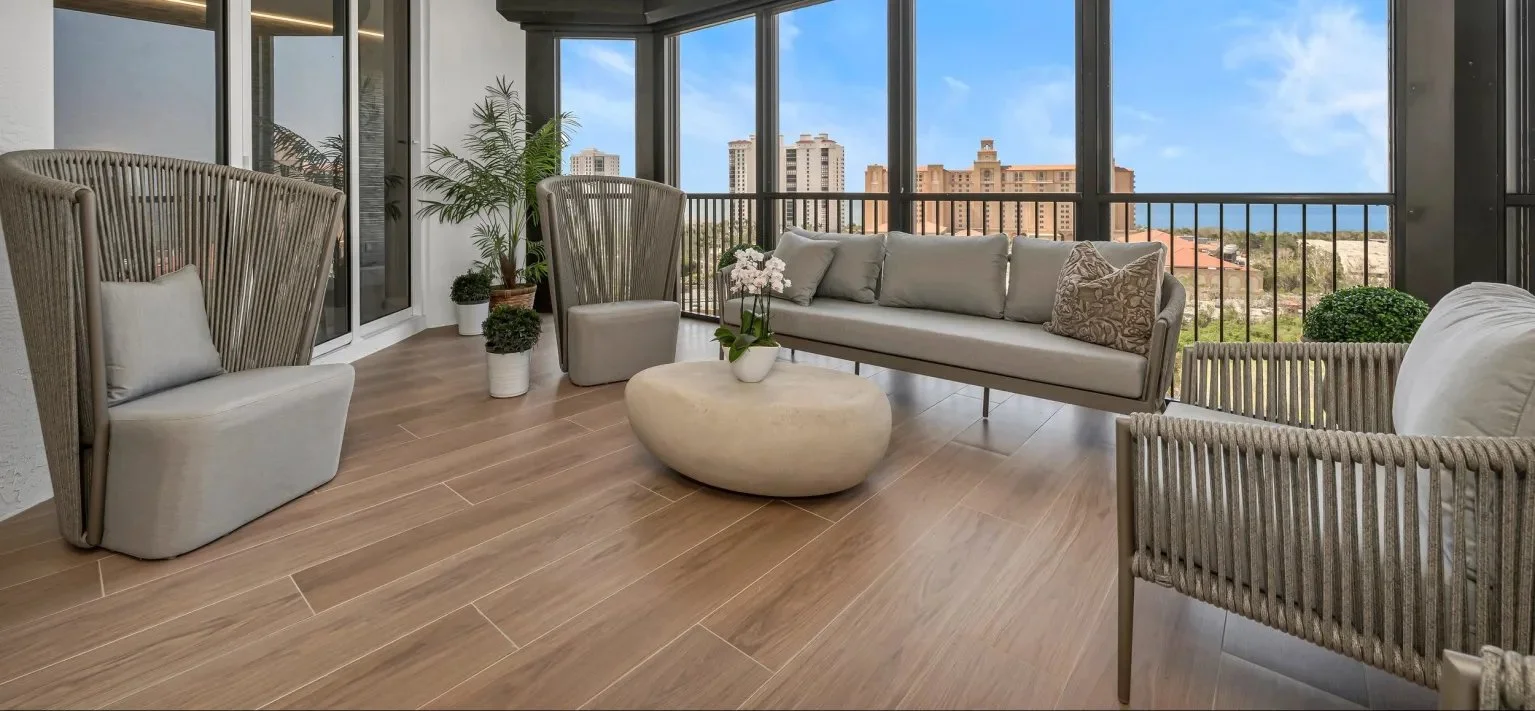
Wood-look porcelain
The warmth of a plank floor that takes a wet lanai, a pool deck, and a dog — without a board ever cupping. Matched, plank to plank, room to room.
Floors, lanais & pool decksplank porcelain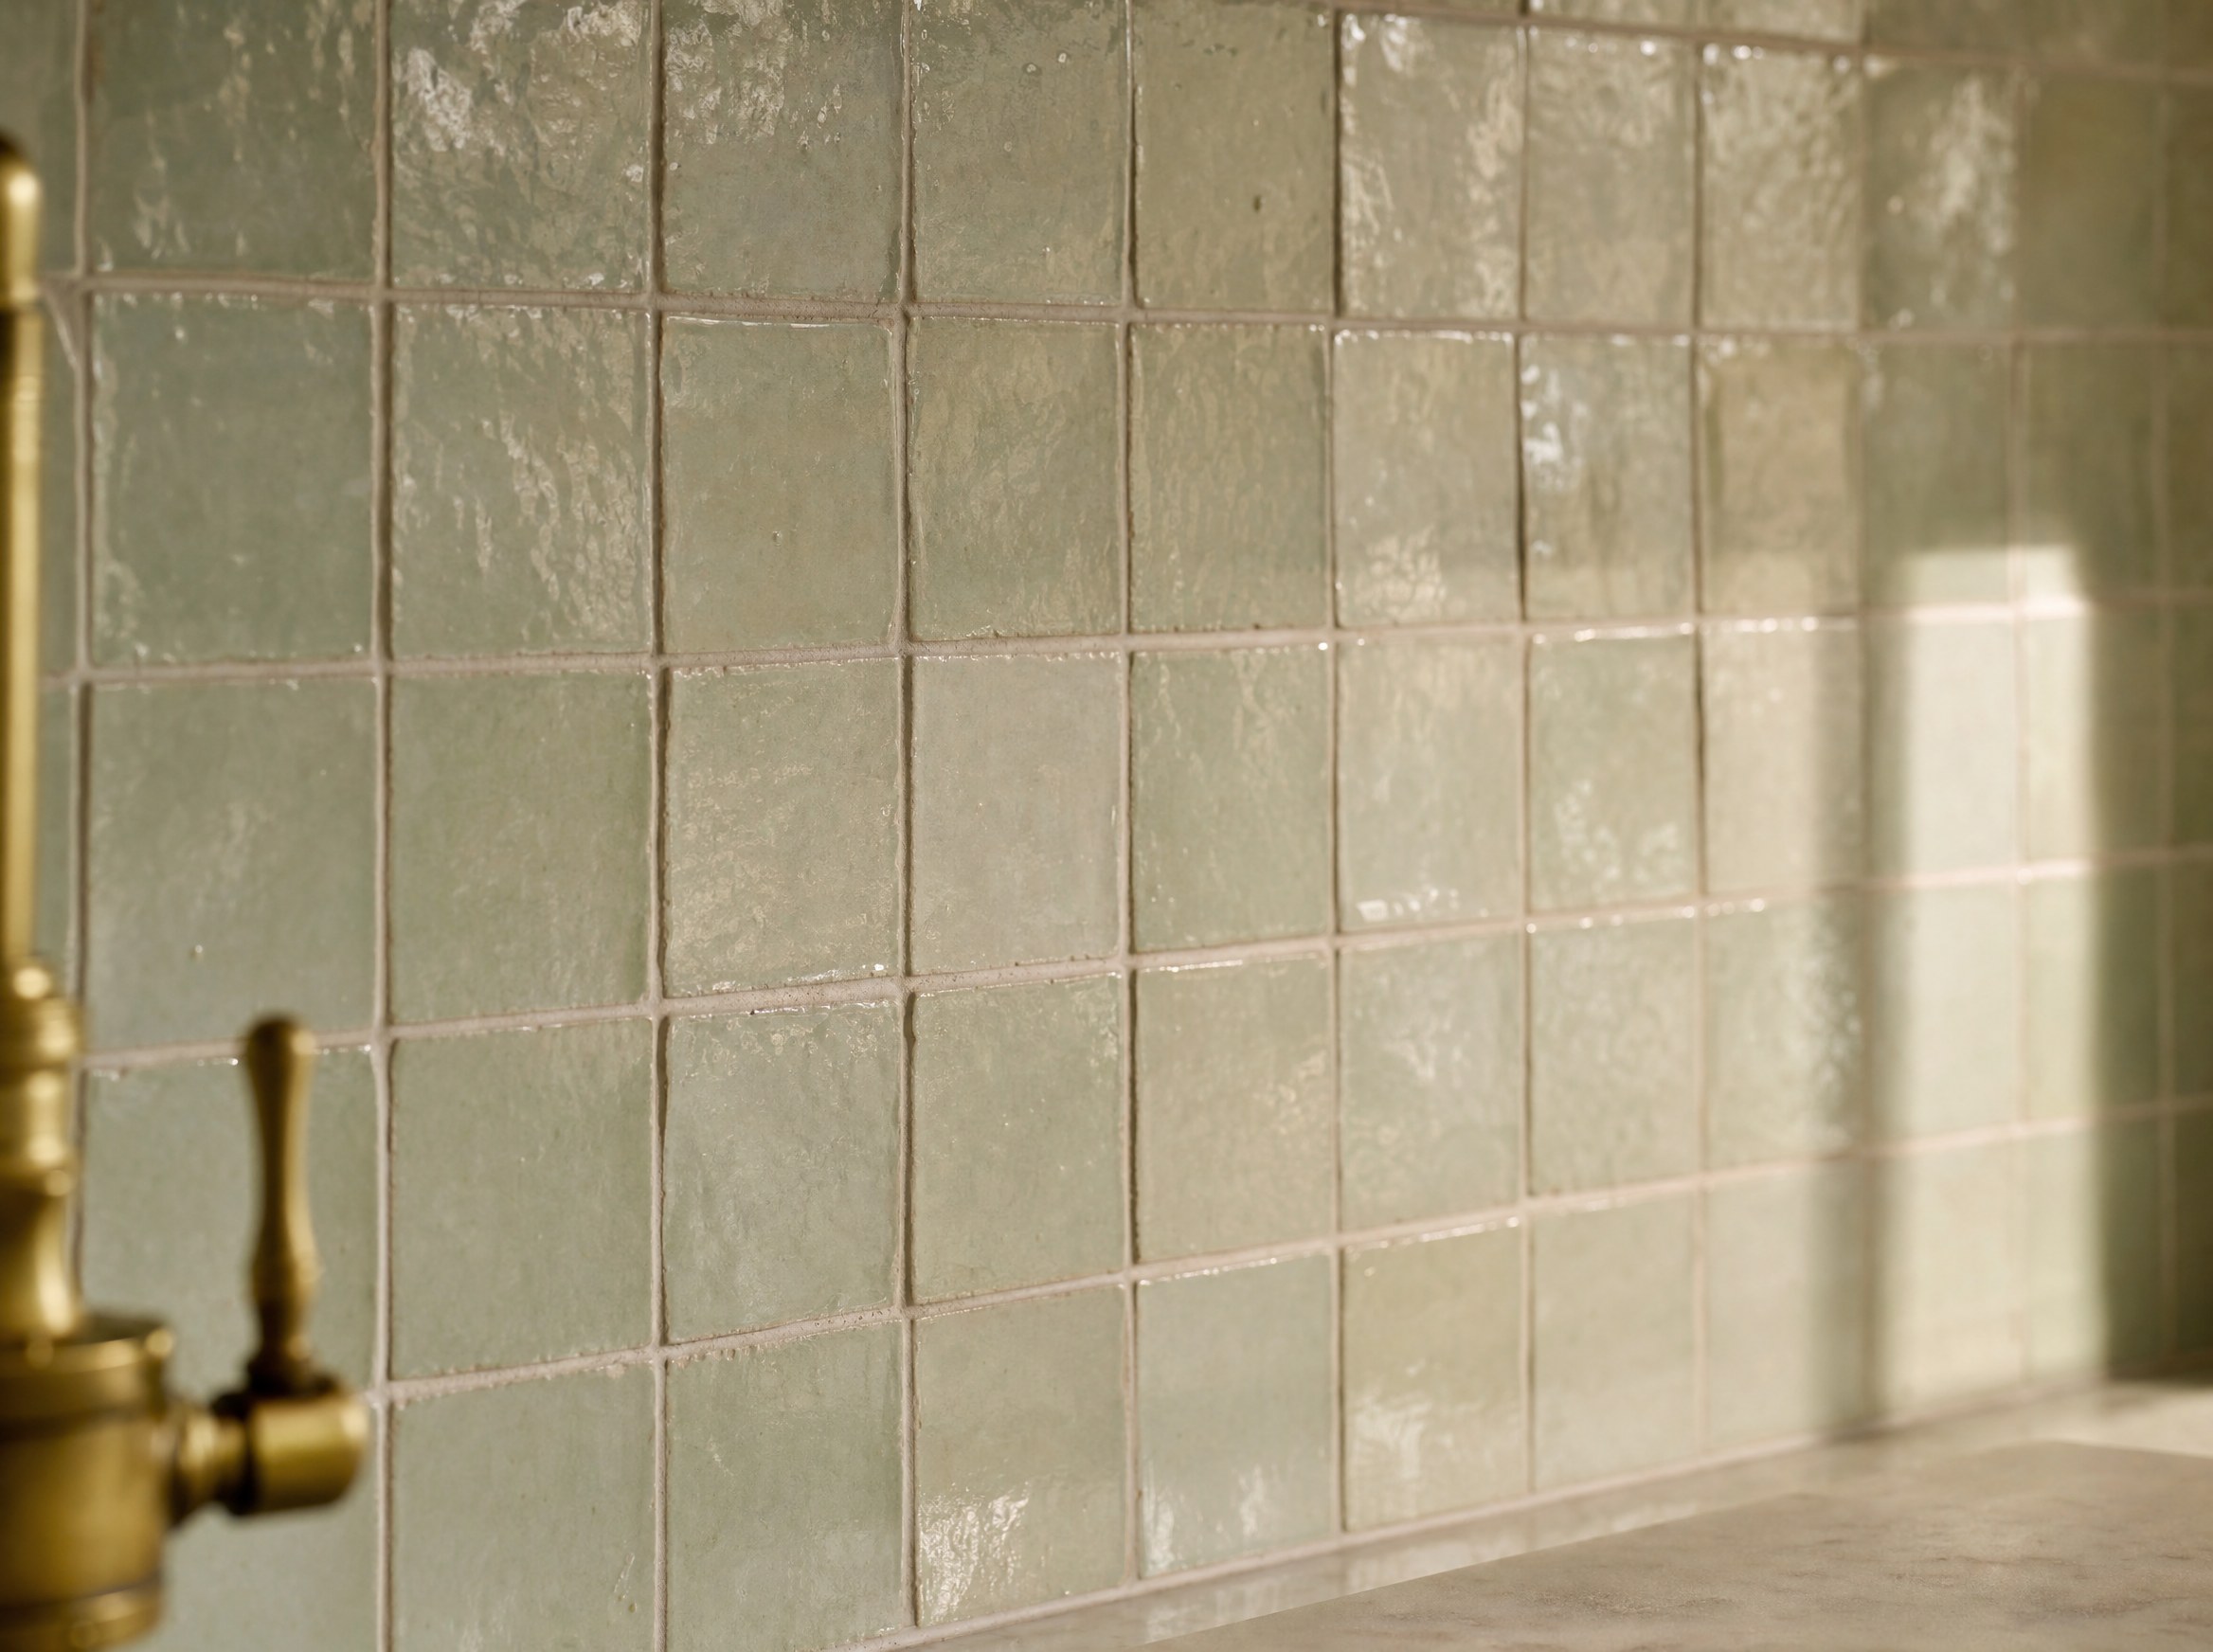
Zellige & decorative mosaic
Handmade glazed zellige and cut mosaic — the warm, slightly-imperfect surface that makes a backsplash or a niche feel collected, not catalogued.
Backsplashes & nichesglazed ceramic · rendering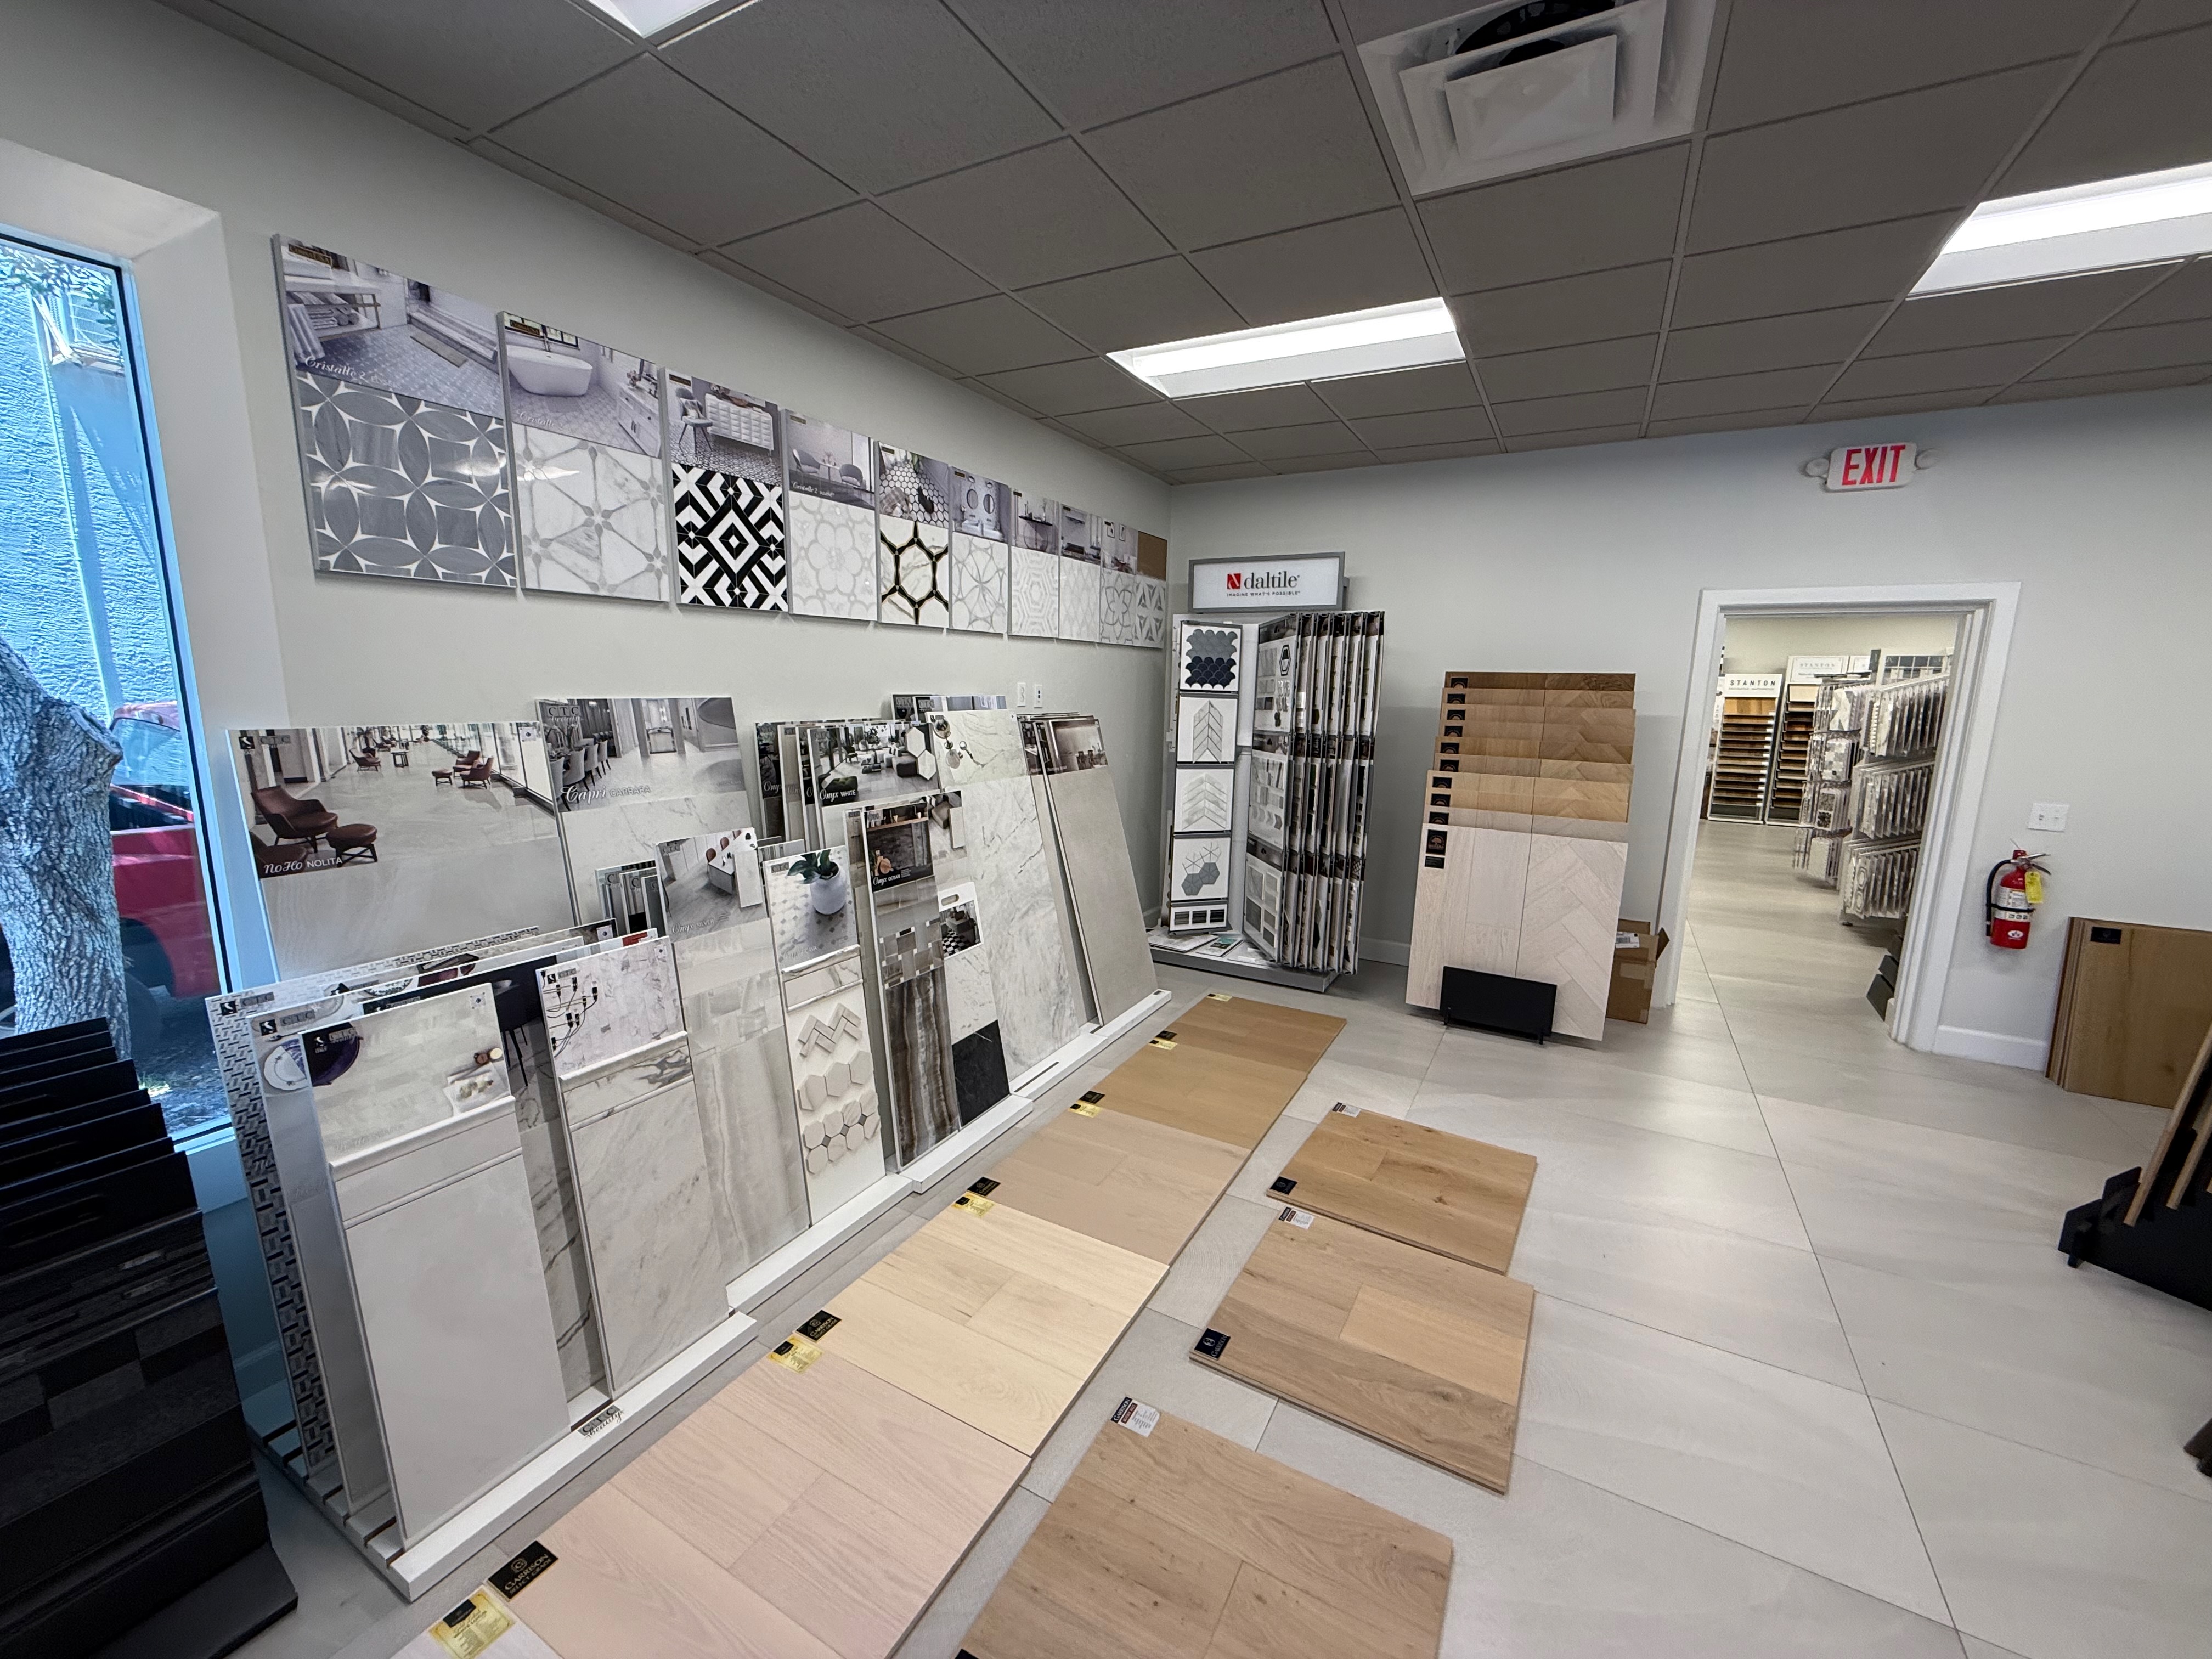
Natural stone & marble
For the one room you want to read as the genuine article — the hero bath, the fireplace surround. Real stone is a judgement you make in person, so the boards live on our wall rather than in a folder.
The hero bathon our showroom wallOne project,
one project manager.
Your first visit is with your project manager
Not a rotating salesperson. The same person who walks the room is the person who specifies the materials and coordinates the install.
One phone number for the entire project
Your project manager coordinates selections, questions, changes and the installation sequence, so you have a clear point of contact.
A clear handoff at completion
Review the completed scope, product care and applicable warranty documents with the team. Know who to contact if a question comes up.
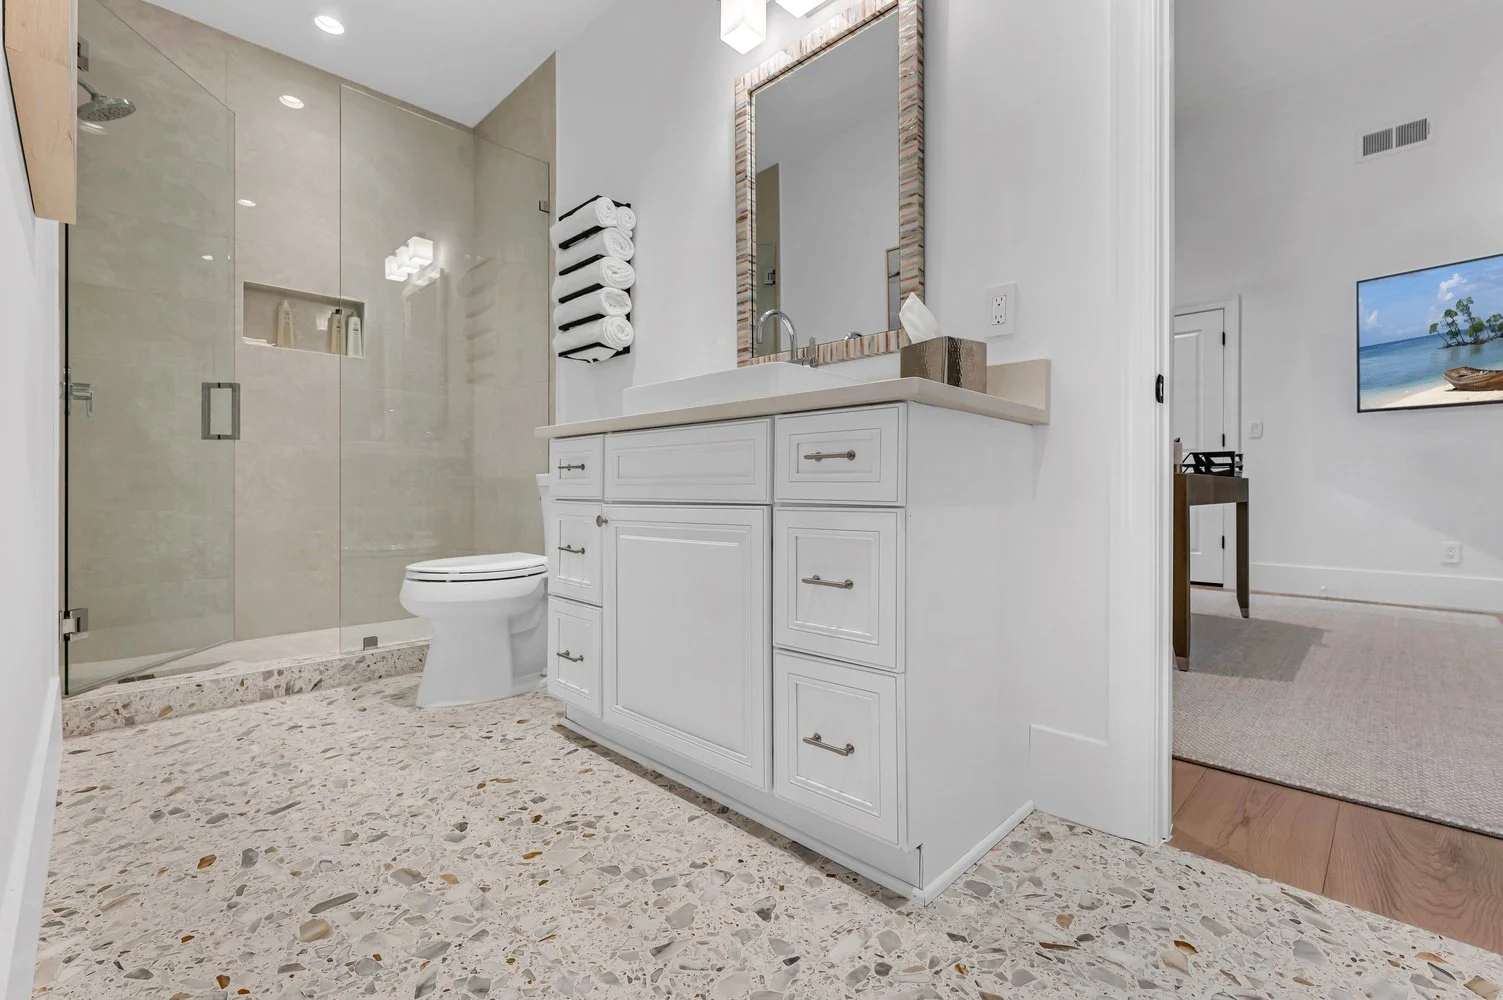
Plan the work before tile goes on.
The finished tile is part of a larger assembly. Discuss the substrate, waterproofing, drain and testing with your project manager before the work begins. These are the decisions to review together:
- 01
Review the substrate
Start with the roomConfirm the condition of the existing surface, the planned shower layout and the preparation required by the selected system.
- 02
Choose a complete assembly
Follow the current instructionsReview the waterproofing system and its compatible components. Different products have different uses; do not treat an uncoupling layer as a substitute for a complete shower specification.
- 03
Resolve corners and penetrations
Plan the detailsInclude corners, curbs, niches, fixtures and any changes of plane in the waterproofing plan before the finish tile is selected and set.
- 04
Coordinate the drain
Review the full scopeConfirm the drain connection, shower base and transition details against the selected system and project requirements.
Confirm the water test for the selected system before tile goes on.
Schluter describes water testing as a check before tile is set and specifies a cure period before the test begins. Confirm the test procedure, timing and any required inspection for your assembly rather than assuming one schedule fits every project.
Naples tile: porcelain or real marble — which belongs where.
We sell both, so we will tell you the truth: porcelain gives you the marble look with zero upkeep; real marble gives you the real thing, with a little care. The choice is not which is better — it is which room you are standing in.
Floors · kitchens · rentals · resale
Where the surface has to live — take spills, traffic, and a wine glass — without being babied. For resale-focused homes and rentals, large-format porcelain has won the calculation outright.
The hero bath · a fireplace surround
The one room you want to read as the genuine article. Real marble still looks different in person — and in a low-traffic primary bath, the little care it asks for is worth it.
White grout in a Naples kitchen becomes grey-brown grout in five years.
Grout color is a decade-long commitment, and near the Gulf cementitious grout chalks and discolors faster. So we steer you toward a warm-taupe or concrete grout that ages gracefully instead of a bright white that will not — and for high-traffic kitchens we recommend epoxy grout up front: it costs more to install and holds its color for a decade.
- What we steer you toward
- Warm-taupe or concrete grout that ages gracefully
- For high-traffic kitchens
- Epoxy grout — holds color for a decade
- Sealed
- At install, then refreshed on a schedule
Naples tile · our work and our racks
Naples tile, room by room.
Real porcelain we supplied and set in Naples baths, halls and lanais — plus the two showroom walls, panels and stone, where the choosing actually happens. Each frame is labelled by what is in it.
North Naples wine room
Large-format panels
Marble-look panels behind the bar, running with almost no joint to read.
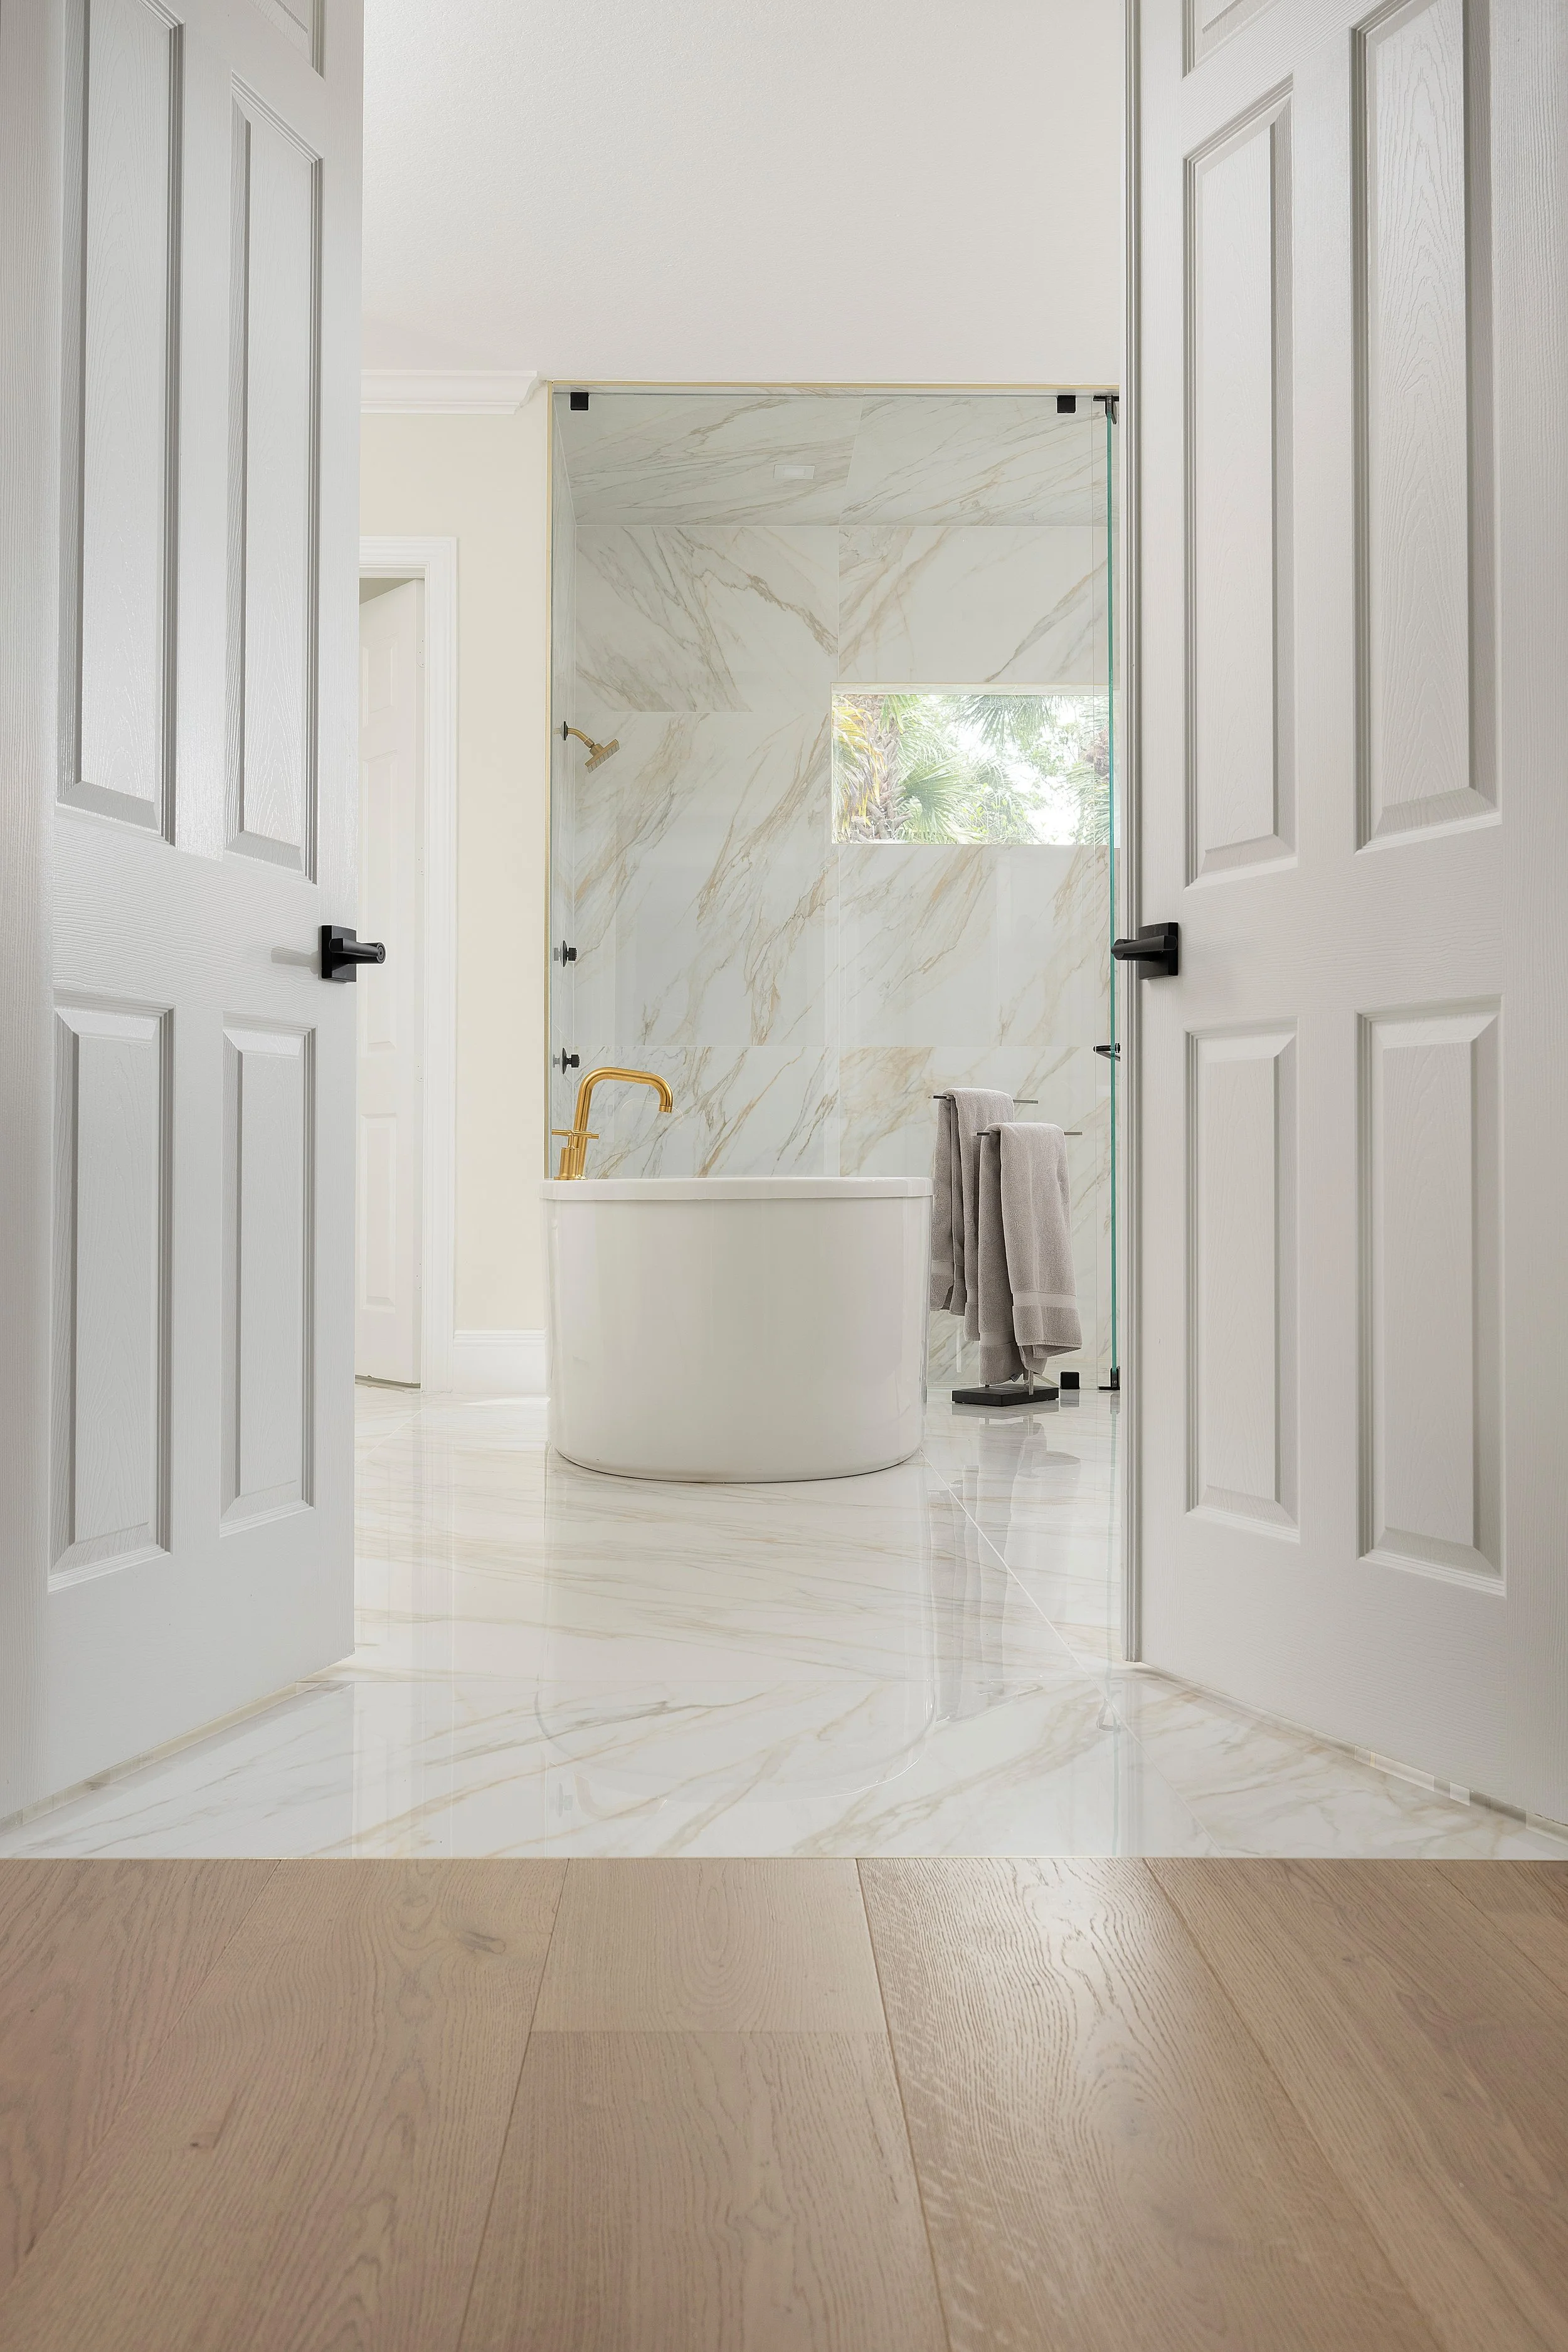
Primary bath
Calacatta-look, large format
A polished floor and shower wall that read as one piece of stone.
Primary bath
Marble-look porcelain
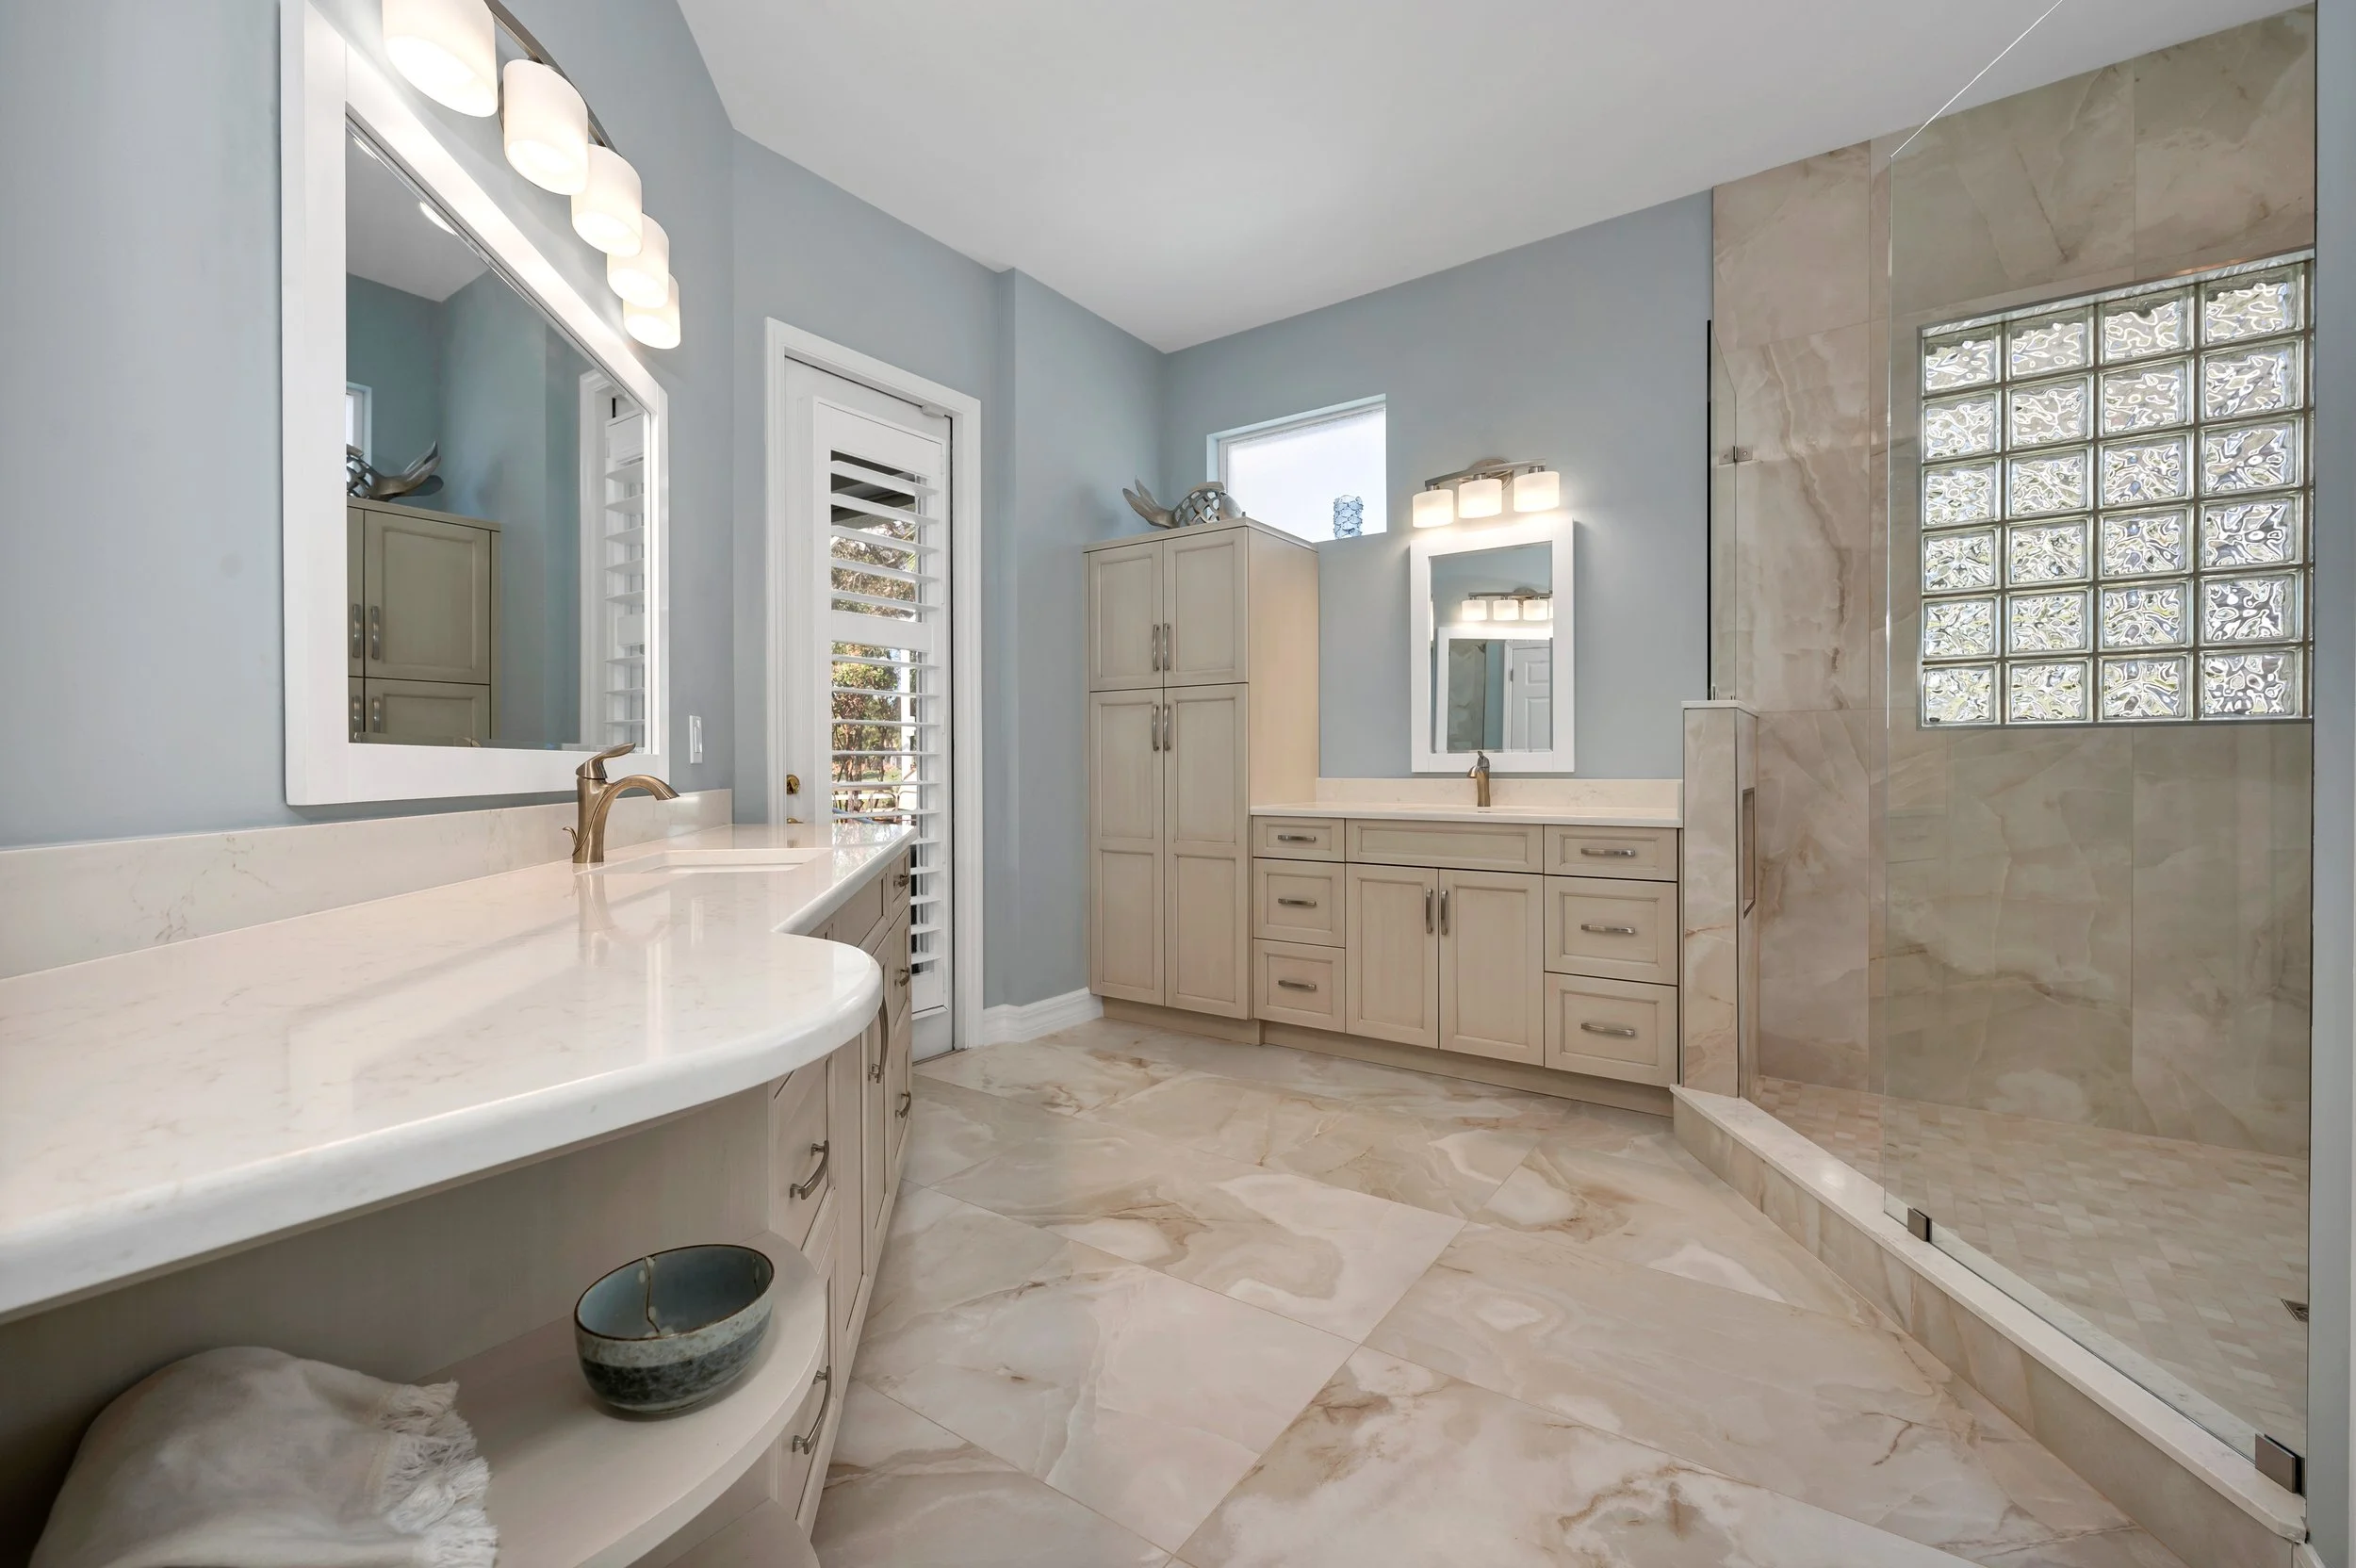
Large-format walls around a glass-block window, floor laid on the diagonal.
Bay Colony lanai
Wood-look porcelain
Plank porcelain with the warmth of wood and none of the worry, open to the Gulf.
Guest bath
Terrazzo + field tile
A glass shower over a low tiled curb, flood-tested before a single tile went on.
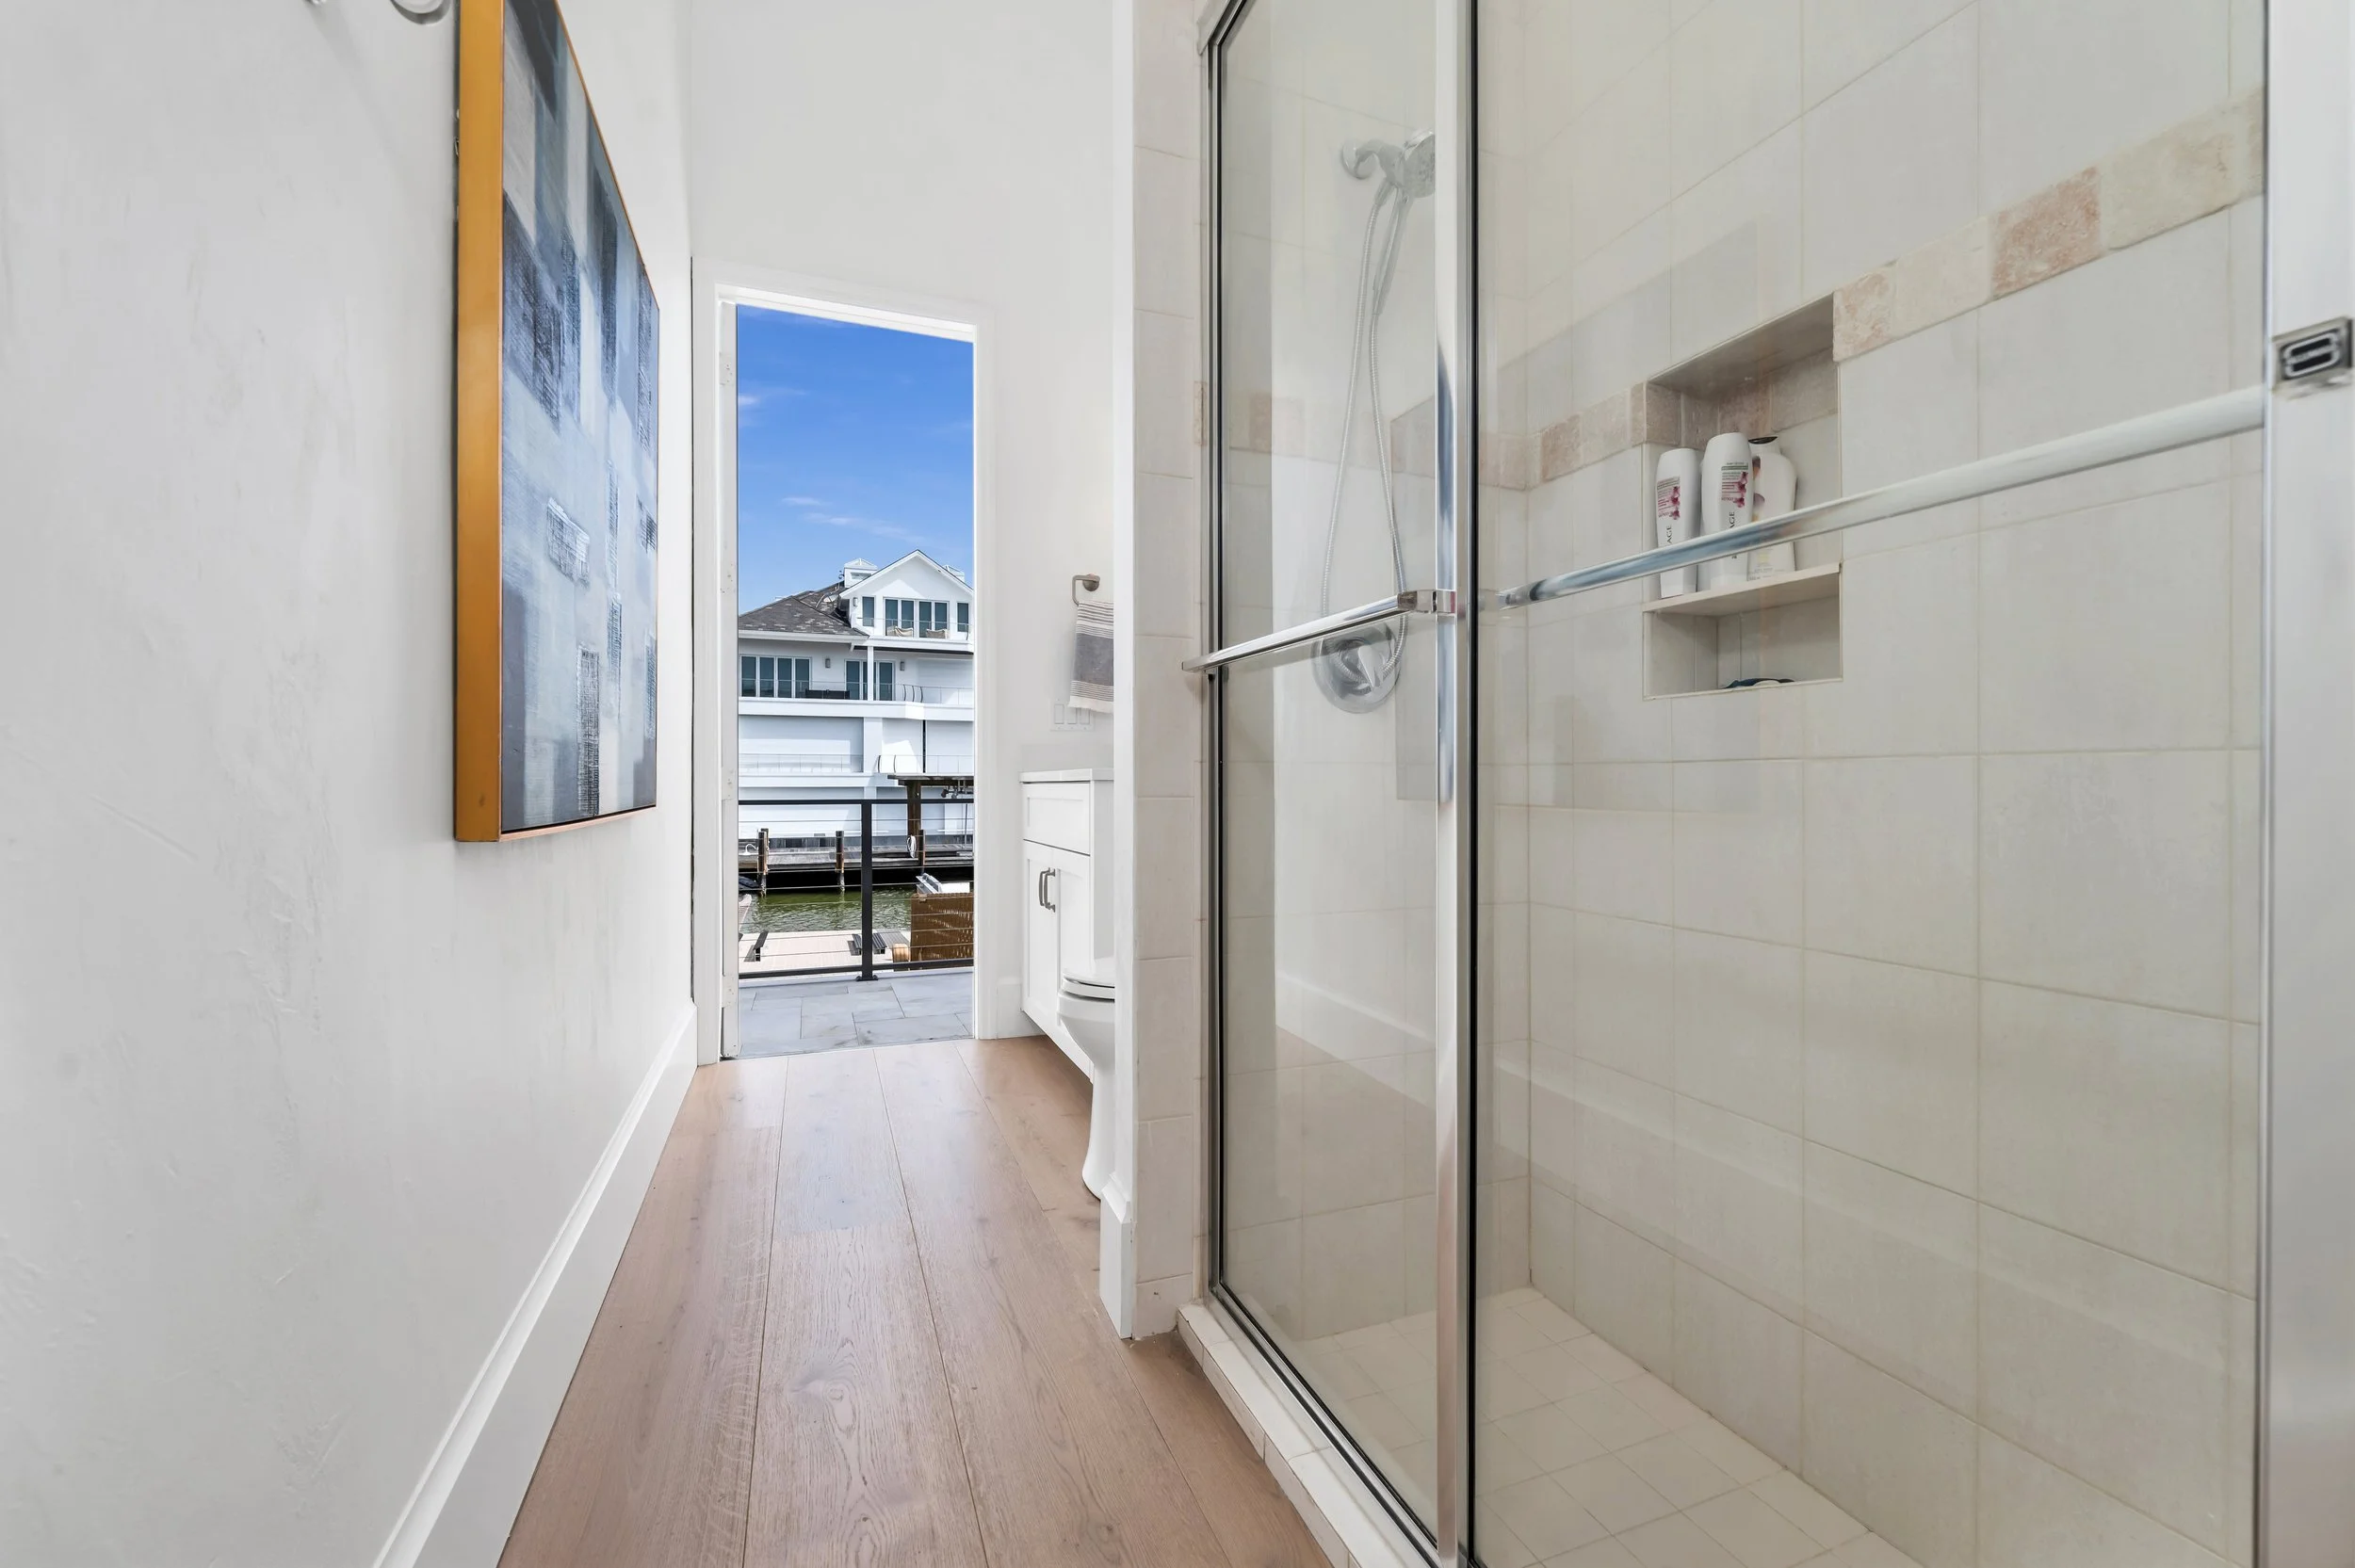
Dockside guest bath
Field tile + accent band
A quiet field-tile shower with an accent course, off an oak hall.
Our Naples showroom
Full-height panels
Sheets up to 63 × 126 inches, stood upright so you can walk the whole face.
Our Naples showroom
Stone & mosaic wall
The decorative and natural-stone boards, mounted at eye level rather than filed away.
Photography of ProFloors & Cabinets projects and our showroom at 2033 Trade Center Way, Naples. No stock interiors and no manufacturer renderings appear in this gallery.
Bring your tile project into focus.
Planning a floor, bath or backsplash? Tell us about the space, then compare materials and discuss the next step with our Naples team.
Start with what you have.
Room photos, a floor plan or a few inspiration images are a useful starting point. Exact measurements can come later. Planning from out of town? Tell us when you expect to be in the area.
Tell us about your project
The details, for when you want them.
How we waterproof, what large-format panels actually change, and what twenty-eight years in Naples taught us about a tile-set that lasts. Skim what's useful — the showroom is the easy way to get the rest.
- Review the complete wet-area assembly, including the substrate and waterproofing.
- Use compatible components and the selected system’s current instructions.
- Confirm the drain, transitions and penetrations as part of the scope.
- Agree on inspection and water-testing requirements before tile is set.
Ask how the wet-area assembly will be checked before it is covered. Keep the product instructions and agreed scope with your project documents.
Large-format porcelain can create a more continuous look on walls. Compare the available sizes, finish and pattern, then review handling, access and installation requirements for the selected panel.
Available in marble, travertine, and concrete looks. A measured step up from standard tile in cost — and it removes the joints entirely.
A 60×120cm panel reads light and weighs a great deal. On condo decks above grade we pre-check subfloor load before we spec it.
Which one belongs in which room.
We install roughly 60% porcelain, 40% natural stone in Naples kitchens. For resale-focused properties and rentals, large-format porcelain has won the calculation. For the hero bathroom, real marble still reads differently in person.
Tile and grout together.
Compare grout color, joint size and tile finish as one selection. Ask about the cleaning, curing and sealing instructions for the products you choose; maintenance needs vary.
Preparation for the room.
The existing surface, selected tile and any wet-area use guide the preparation. Discuss the substrate, waterproofing and required testing as part of the written scope.
Condo building requirements.
Get current renovation and sound requirements from your association before ordering. Acoustic performance depends on the complete floor and building assembly, not a universal underlayment number.
Every tile-set we install is engineered for Naples humidity — not a showroom in the Pacific Northwest.
Salt air, slab moisture, condo acoustic specs. Discuss the preparation and installation requirements for your project with our team.
- 28
- Years in Naples
- 5.0
- Google rating
- Insured
- Locally owned
Tile flooring questions.
Do you moisture-test the slab before tile?
Yes. Every slab is moisture-tested before we approve the setting plan — the tile is only as good as what is under it.
How do you prepare a shower?
The preparation depends on the existing conditions and selected system. Your written scope should identify substrate work, the waterproofing system, transitions and any required testing before tile is set.
Should I use porcelain or marble?
Use porcelain when easy daily care matters most — floors, kitchens and busy baths. Use marble in a primary bath or focal surround when natural variation is worth the extra care. We show both at full size and tell you what the room will ask of each.
Can you work with my designer or builder?
Yes. We supply material and installation, with one project manager from the measure through closeout, and quotes can route through the designer.
Can we mix tile and hardwood in the same room?
Yes — common in kitchens with dining areas. We use a metal or wood threshold transition; we don't force a patterned break. Planning both in the same review lets us pick tones that read as one palette.
What about grout color — is white worth it?
Compare the grout beside the actual tile and discuss daily use, cleaning and sealing requirements. Light and dark colors show different kinds of soil; the grout product matters as much as its color.
Is large-format porcelain worth it in Naples?
For the right Naples room, yes. A full-height porcelain panel removes the grout lines from a shower wall — it reads almost like real stone. It is a measured step up from standard tile in cost, and it takes the visual noise of 12×24 joints out of the room entirely.
Can you match the tile to our existing wood floor?
Tone-match yes, exact match no. We do this all the time — warm-oak floor paired with bone-porcelain backsplash, or cooler oak with a grey-taupe grout. The trick is reviewing the sample under your kitchen's actual light.
Read before you decide
The questions Naples homeowners ask us in the showroom, answered in writing.